Adobe Premiere Pro Installation Troubleshooting: Fix Common Issues
Installing Adobe Premiere Pro can sometimes turn into a frustrating experience, especially if unexpected errors interrupt the process. Whether you’re a beginner editor or a professional video creator, facing installation issues can delay your projects. Fortunately, most of these problems have clear solutions if you know where to look. In this article, we’ll explore common installation errors, their causes, and the most effective ways to fix them.
Understanding Premiere Pro Installation Challenges
Before diving into troubleshooting, it’s important to understand that Adobe Premiere Pro is a complex program with many dependencies. It relies on system compatibility, up-to-date drivers, and proper software permissions. A single missing component can lead to installation failure.
Many users assume the problem is with Adobe itself, but in most cases, the issue lies within Windows or macOS configurations, or even corrupted temporary files. By methodically diagnosing each area, you can quickly pinpoint what’s preventing your installation from succeeding.
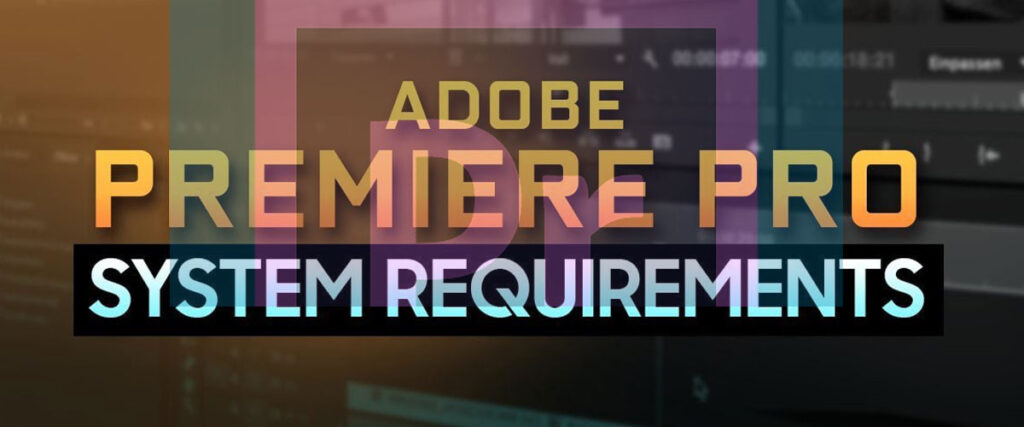
Checking System Requirements
One of the most common reasons Premiere Pro installation fails is because the computer doesn’t meet the system requirements. Adobe updates its minimum specs frequently, so even a slightly outdated system can cause problems. Make sure your hardware and operating system match the latest Adobe Creative Cloud specifications. Using an unsupported GPU or old CPU often leads to incomplete installations or poor performance after setup.
Common Issues and Fixes
Adobe Premiere Pro installations can fail for several reasons, ranging from internet issues to system configuration problems. Here are some of the most common installation issues users experience and how to fix them effectively:
Understanding what triggers each error can make troubleshooting much faster. Some issues are minor and can be solved with simple restarts, while others require deeper technical steps like clearing cache folders or reinstalling Creative Cloud.
- Error Code 146 or 191: Often caused by permission issues. Try running the Creative Cloud app as an administrator. Sometimes antivirus software blocks necessary installation files—temporarily disable it during setup.
- Incomplete Installation: This happens when your internet connection drops during download. Use a wired connection instead of Wi-Fi to ensure stability. You can also pause and resume the download using the Creative Cloud app to recover corrupted files.
- Installer Freezes or Crashes: Usually related to outdated drivers or insufficient RAM. Update your GPU drivers and close background apps before retrying. Cleaning temporary installation files from your AppData folder can also help.
- Creative Cloud Not Detecting Premiere Pro: Occasionally, the installation finishes, but the app doesn’t appear in the dashboard. Logging out and back into your Adobe account often resolves this. If not, uninstall and reinstall the Creative Cloud desktop application.
- Installation Path Errors: If Premiere Pro can’t find a valid path, it might be due to limited disk space or special characters in folder names. Free up at least 10GB of space on your installation drive and choose a simple path like C:\Adobe\PremierePro.
How to Prevent Future Installation Problems
Once your Premiere Pro installation is successful, it’s wise to prevent future issues. Keeping your system and Creative Cloud updated ensures smooth functioning. Adobe frequently releases patches that fix known bugs, so enabling automatic updates saves time and avoids frustration. It’s also a good practice to regularly clean temporary folders and cache files. These can accumulate quickly and interfere with future updates or plugin installations. Always back up your Adobe settings and projects before performing major updates to protect your workflow.
Additional Tips for Smooth Installation
If you’ve faced installation errors multiple times, following these additional steps can minimize risk and ensure long-term stability. Before installing any major Adobe update, consider creating a system restore point in Windows or a Time Machine backup on macOS.
- Disable Background Programs: Especially antivirus and firewalls during installation.
- Use Adobe Cleaner Tool: To remove corrupted installation files or failed attempts.
- Check Disk Health: Bad sectors or SSD issues can corrupt downloaded data.
- Install One App at a Time: Avoid multiple Adobe app installations simultaneously.
By maintaining your system’s health, you can make sure Adobe Premiere Pro installs and runs smoothly every time.
Conclusion
Troubleshooting Adobe Premiere Pro installation issues doesn’t have to be intimidating. Most problems come down to permissions, internet stability, or hardware compatibility. By following a structured approach and understanding the underlying causes, you can resolve these issues quickly and confidently. Whether you’re editing short films or professional commercials, keeping your Adobe tools in good shape ensures creativity never stops. And if problems persist, remember Adobe’s official support channels and community forums are always there to help.